
Migrating data into Microsoft Dynamics 365 Business Central is a critical step when setting up a new company. The process is made easy with the assisted setup feature, allowing you to import essential data such as the general ledger, customers, vendors, and items from an Excel file. Here’s a simple guide to help you get started:
1. Start the Assisted Setup Process
- Click on the Settings cog wheel in Business Central.
- Select Assisted Setup from the menu. This will open the Assisted Setup window.

2. Search for Data Migration
- In the Assisted Setup window, click on the magnifying glass at the top and type migrate.
- Select the Migrate Business Data option.

3. Open the Data Migration Wizard
- After selecting Migrate Business Data, the Data Migration Assisted Setup will open.
- Click Next at the bottom of the screen to proceed.
4. Choose the Data Source
- The setup will prompt you to select a data source. Choose Import from Excel as the data source.
5. Download the Excel Template
- Click the Download Template button at the bottom of the Assisted Setup window. This will download the Excel template to your computer.

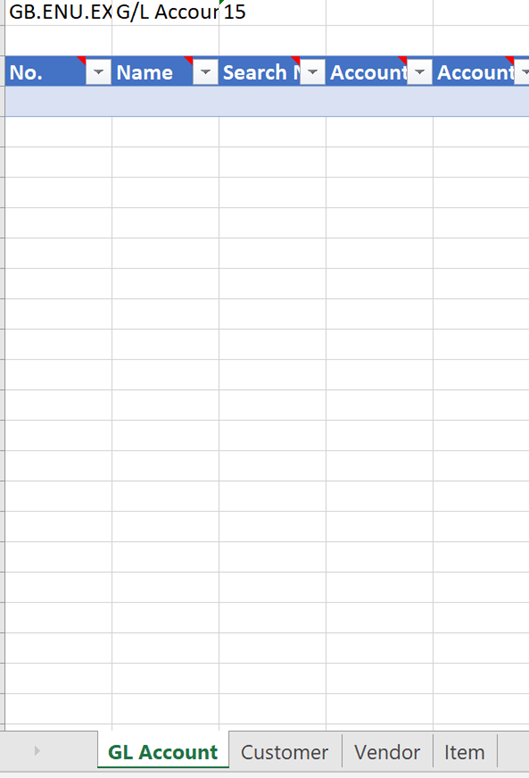
6. Fill Out the Excel Template
- The downloaded Excel file will have four tabs: GL Account, Customer, Vendor, and Item.
- Enter your company’s data into the relevant tabs.
7. Return to the Assisted Setup
- Once the data is entered, go back to the Assisted Setup in Business Central.
- Click on Settings to select the default customer template or create a new one if needed.
8. Upload the Excel File
- Click Next to proceed. You will be prompted to upload the Excel file.
- Click Open, then select the file you just filled out. Business Central will show the number of records in each sheet.
9. Select the Data to Migrate
- Tick the checkboxes next to the table names you want to migrate, such as General Ledger, Customers, Vendors, or Items.
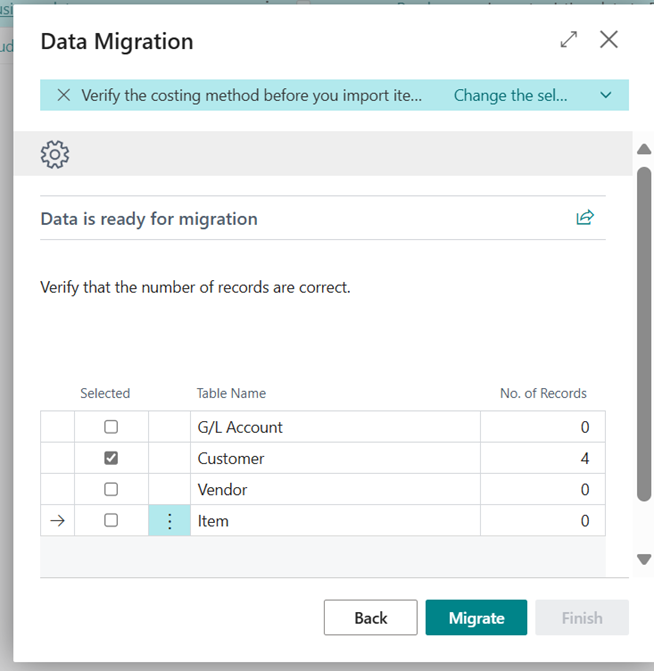
10. Migrate the Data
- Click Migrate to begin the process. Note that some fields may not migrate if there are missing details in your Excel file.
11. Complete the Migration
- Once the migration is complete, click OK to confirm.
- Then, click Finish to close the setup.
12. Verify the Data
- Go back to the Role Center page in Business Central.
- Check the data you’ve imported (e.g., Customers, Vendors, and Items) to ensure everything is correctly migrated.
By following these steps, you can efficiently migrate your company’s data from Excel into Business Central.
Thank you for reading.
Shanika Ranathunga